We get it. Refinishing looks simple from the outside: rent a sander, run it across the floor, roll on some finish. The rental counter makes it sound like a weekend project, and there are plenty of videos showing exactly that. Some people do pull it off. A fair number of the floors we refinish, though, are floors someone tried to do themselves first. So here is a straight look at DIY hardwood floor refinishing: what makes it hard, which mistakes cannot be undone, and which floor jobs a handy homeowner can reasonably take on.
The Sanding Is the Hard Part
Applying finish takes care. Sanding takes skill, and it is where nearly all DIY trouble starts.
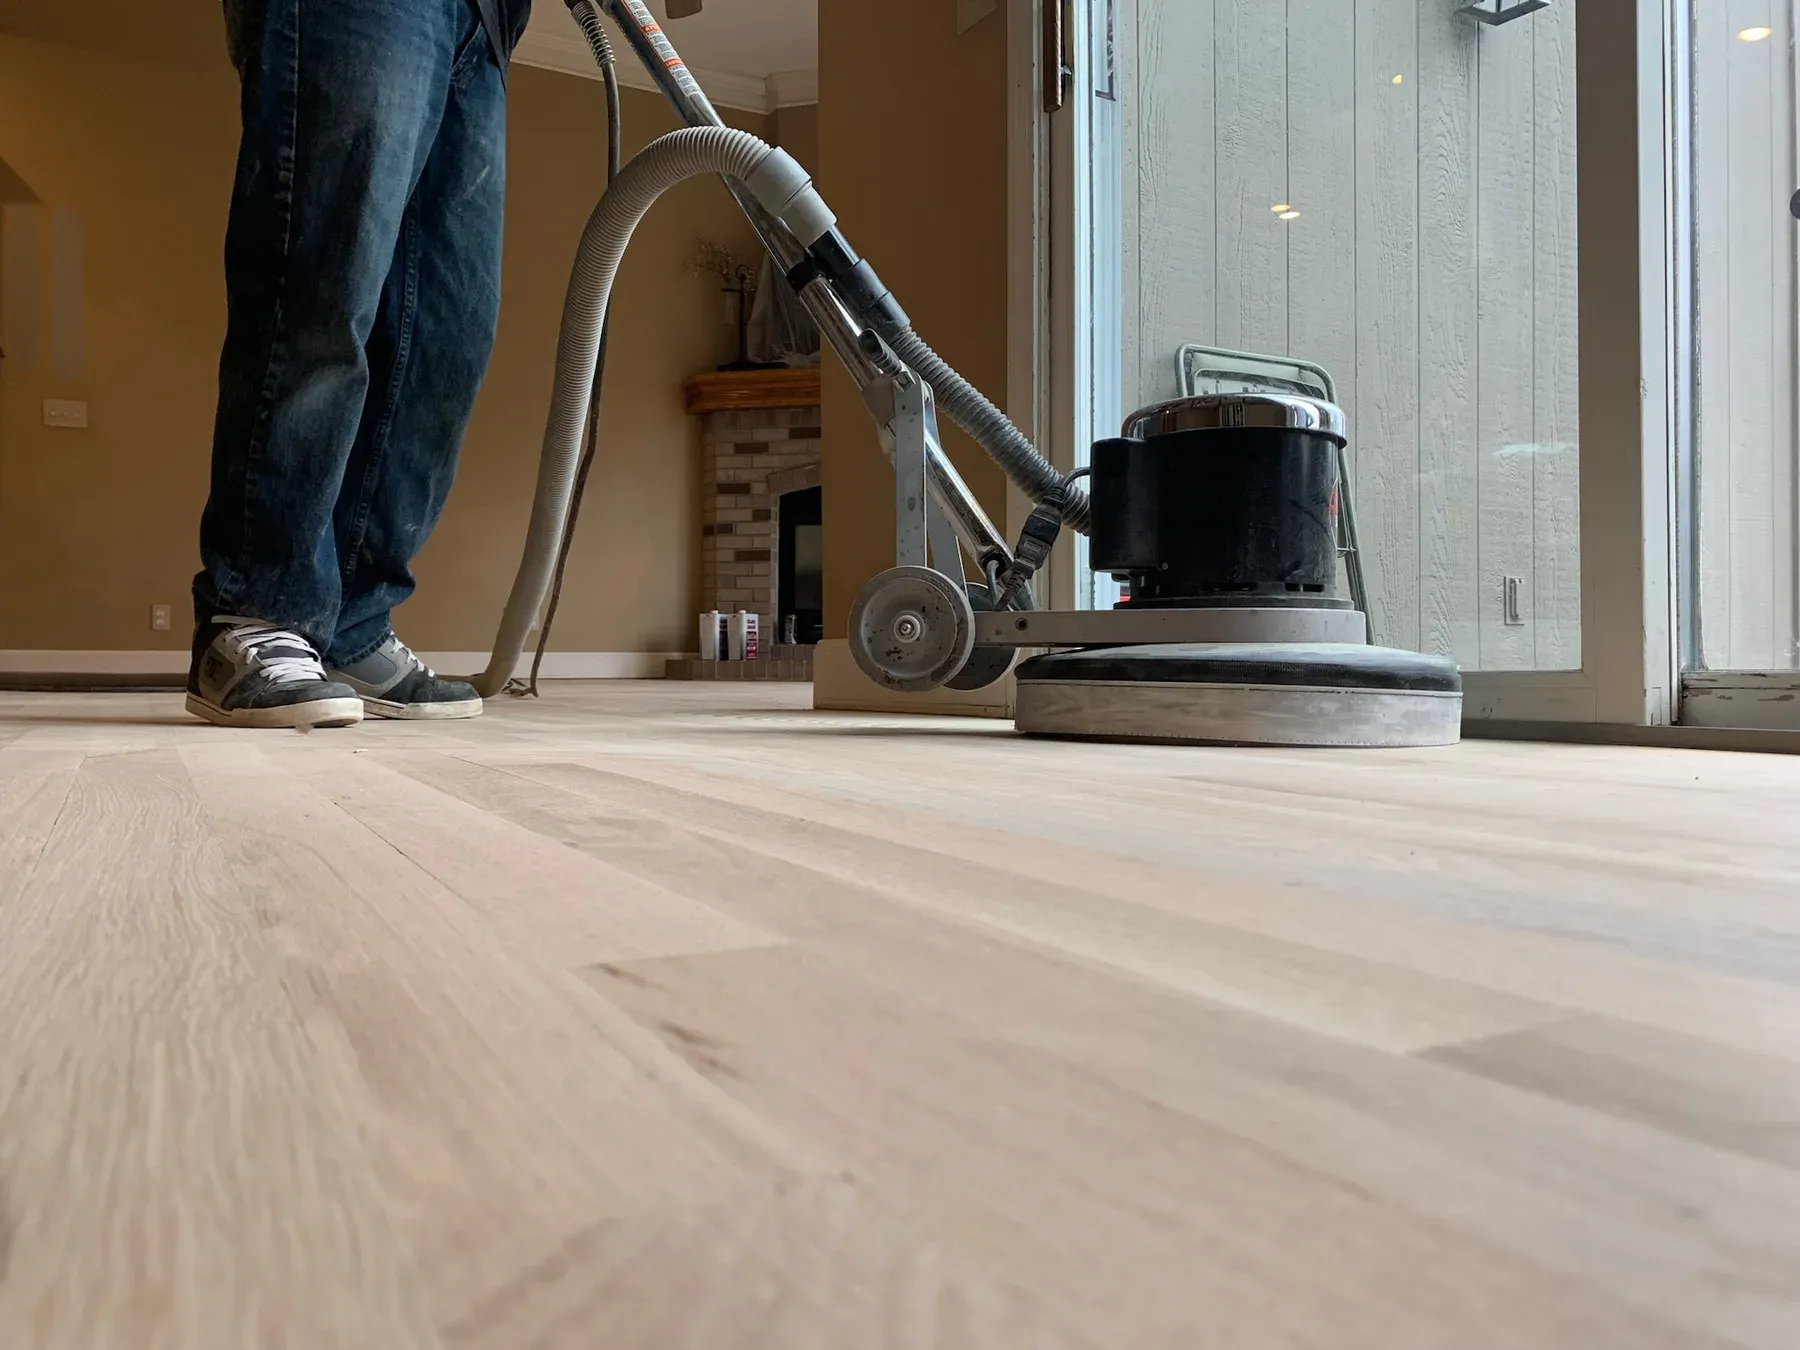
Drum sanders cut fast and do not forgive. A drum sander removes wood quickly. If it pauses for a second while the drum is down, it digs a dip into the floor. If it is lowered or raised unevenly, it leaves a ridge or a gouge. Those marks are cut into the wood, and fixing them means sanding the whole area down to their depth, which costs wood the floor cannot get back.
Orbital rental sanders are safer but slow. They are much harder to gouge with, which is why rental stores steer homeowners toward them. On a floor that only needs light sanding they can work. On a floor with heavy old finish, stains or uneven boards, they can take a very long time and still leave the floor not quite flat or not quite clean.
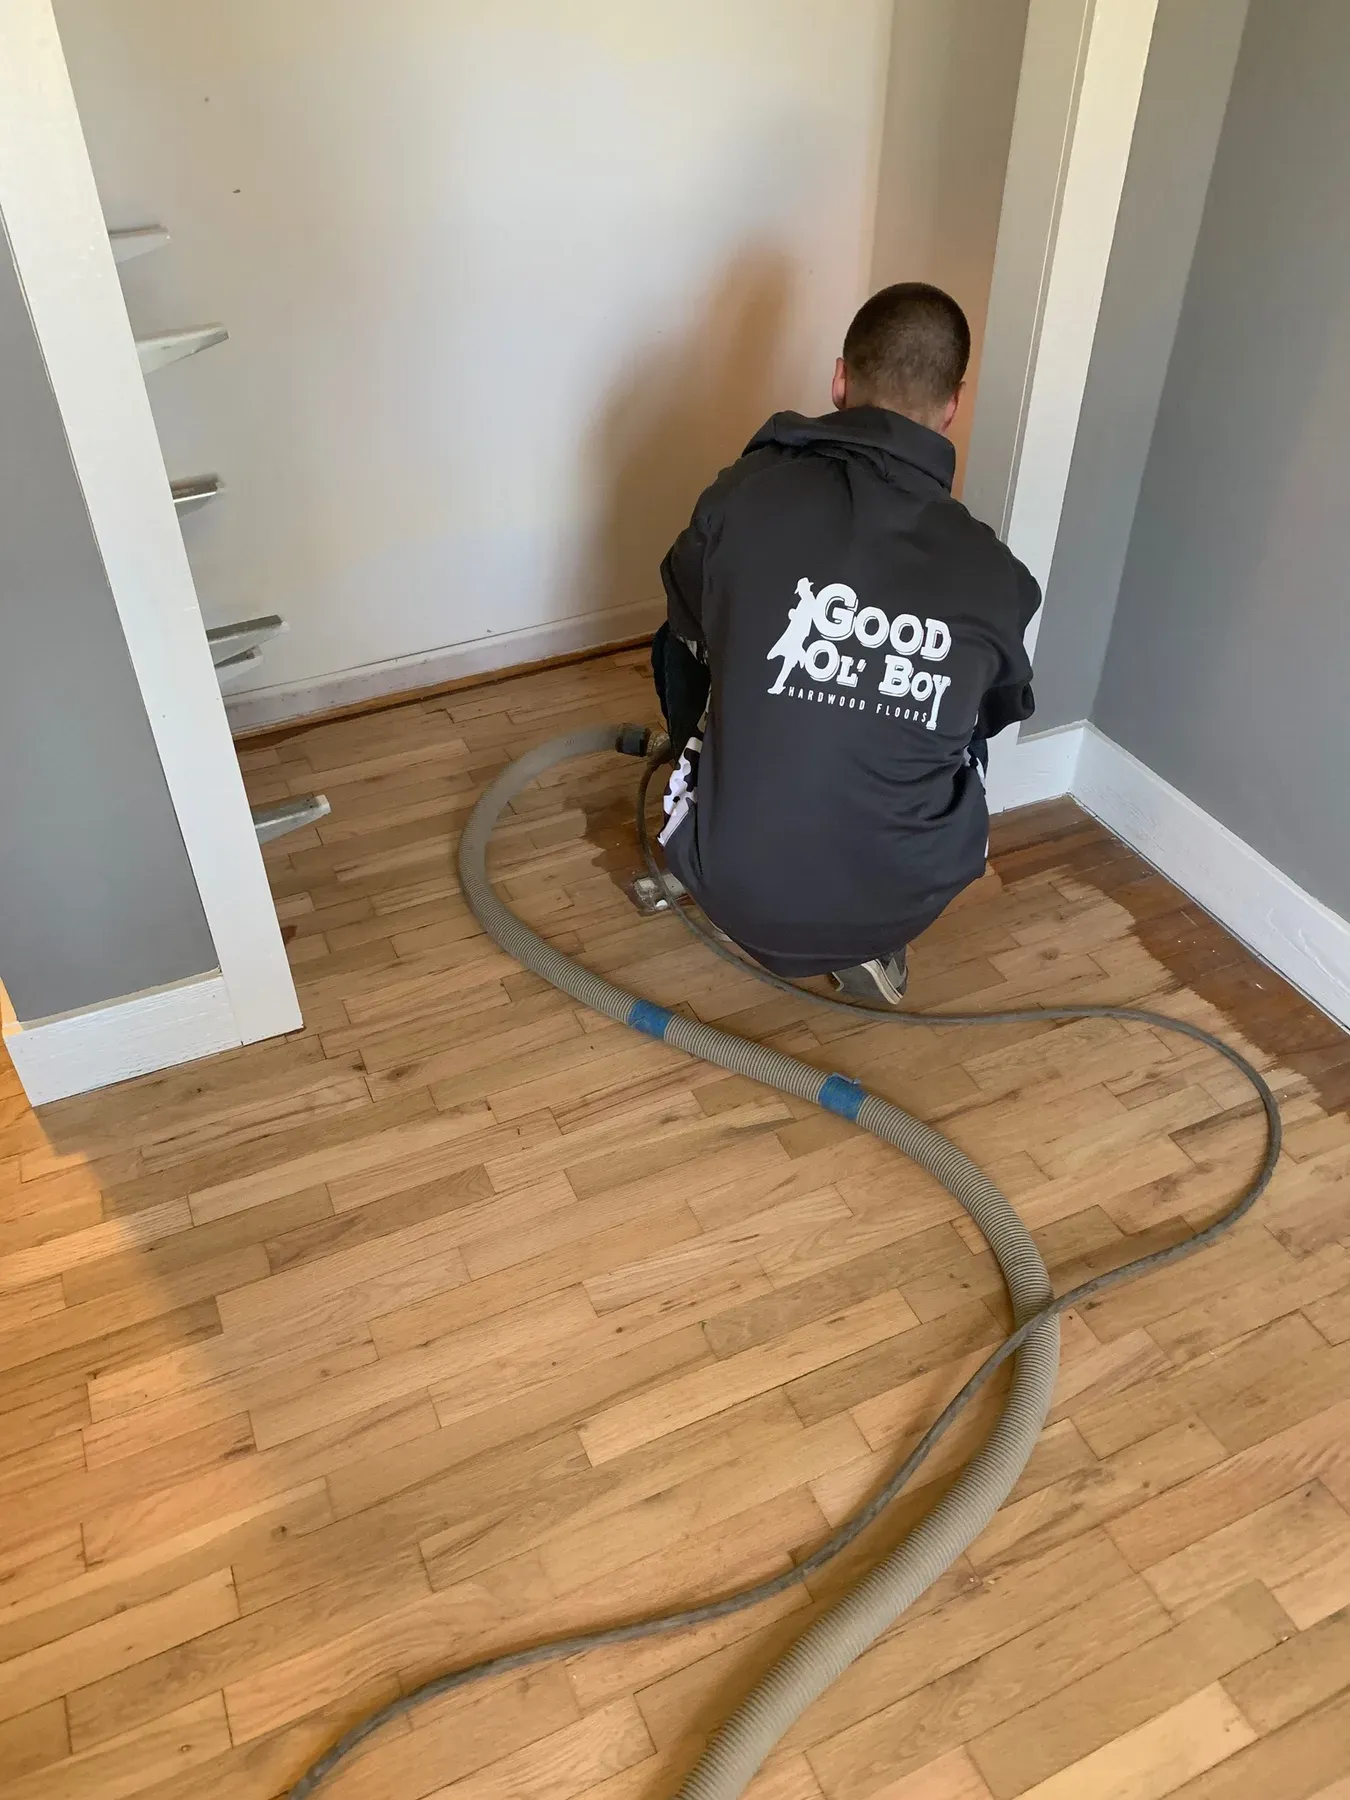
Edges and corners need a separate machine. The big sander cannot reach the walls, so the perimeter is sanded with an edger, a powerful handheld disc sander. An edger in inexperienced hands leaves swirl marks around the edge of every room that look fine bare and show clearly once stain or finish goes on.
Skipping grits leaves scratches. Each finer grit has to remove the scratches from the one before. Jump ahead to save time and the coarse scratches stay, then show up under the finish as fine lines across the floor. Our sanding guide explains how we step through the sequence.
Mistakes That Cannot Be Undone
Most DIY mistakes can be fixed by a professional, at the cost of more wood and a bigger bill. A few cannot.
- Sanding through an engineered floor. Engineered hardwood has a limited layer of real wood on top. Sand through it and the core shows, and those boards have to be replaced. Can engineered hardwood be refinished explains how to check before anyone touches it.
- Sanding too deep on a thin floor. Old floors that have been sanded several times may have little wood left above the tongue. An aggressive DIY sanding can use up what remained, which turns a refinish into a replacement.
- Gouges on a thin floor. On a thick floor, a gouge can be sanded out. On a thin one, sanding it out may not be an option.
If you are not sure whether your floor is solid or engineered, how to tell what kind of floor you have walks through the check.
Stain and Finish Problems
Stain shows every flaw in the sanding, so a floor that looked fine bare can turn blotchy or streaky the moment color goes on. Stain also has to be applied evenly and wiped consistently across a large area before it sets, which is much harder on a whole floor than on a piece of furniture. Some woods, like maple and pine, blotch easily even when everything else is done right.
Finish brings its own traps. Water-based finishes dry fast, which can leave lap marks where a fresh pass meets one that has already started to set. Dust settling into wet finish leaves bumps. Too heavy a coat can stay soft or bubble. Finish over a floor that was not fully cleaned, or over residue from shine products, can peel. Why the finish peels off a hardwood floor covers that one in detail.
Dust, Time and the Real Cost
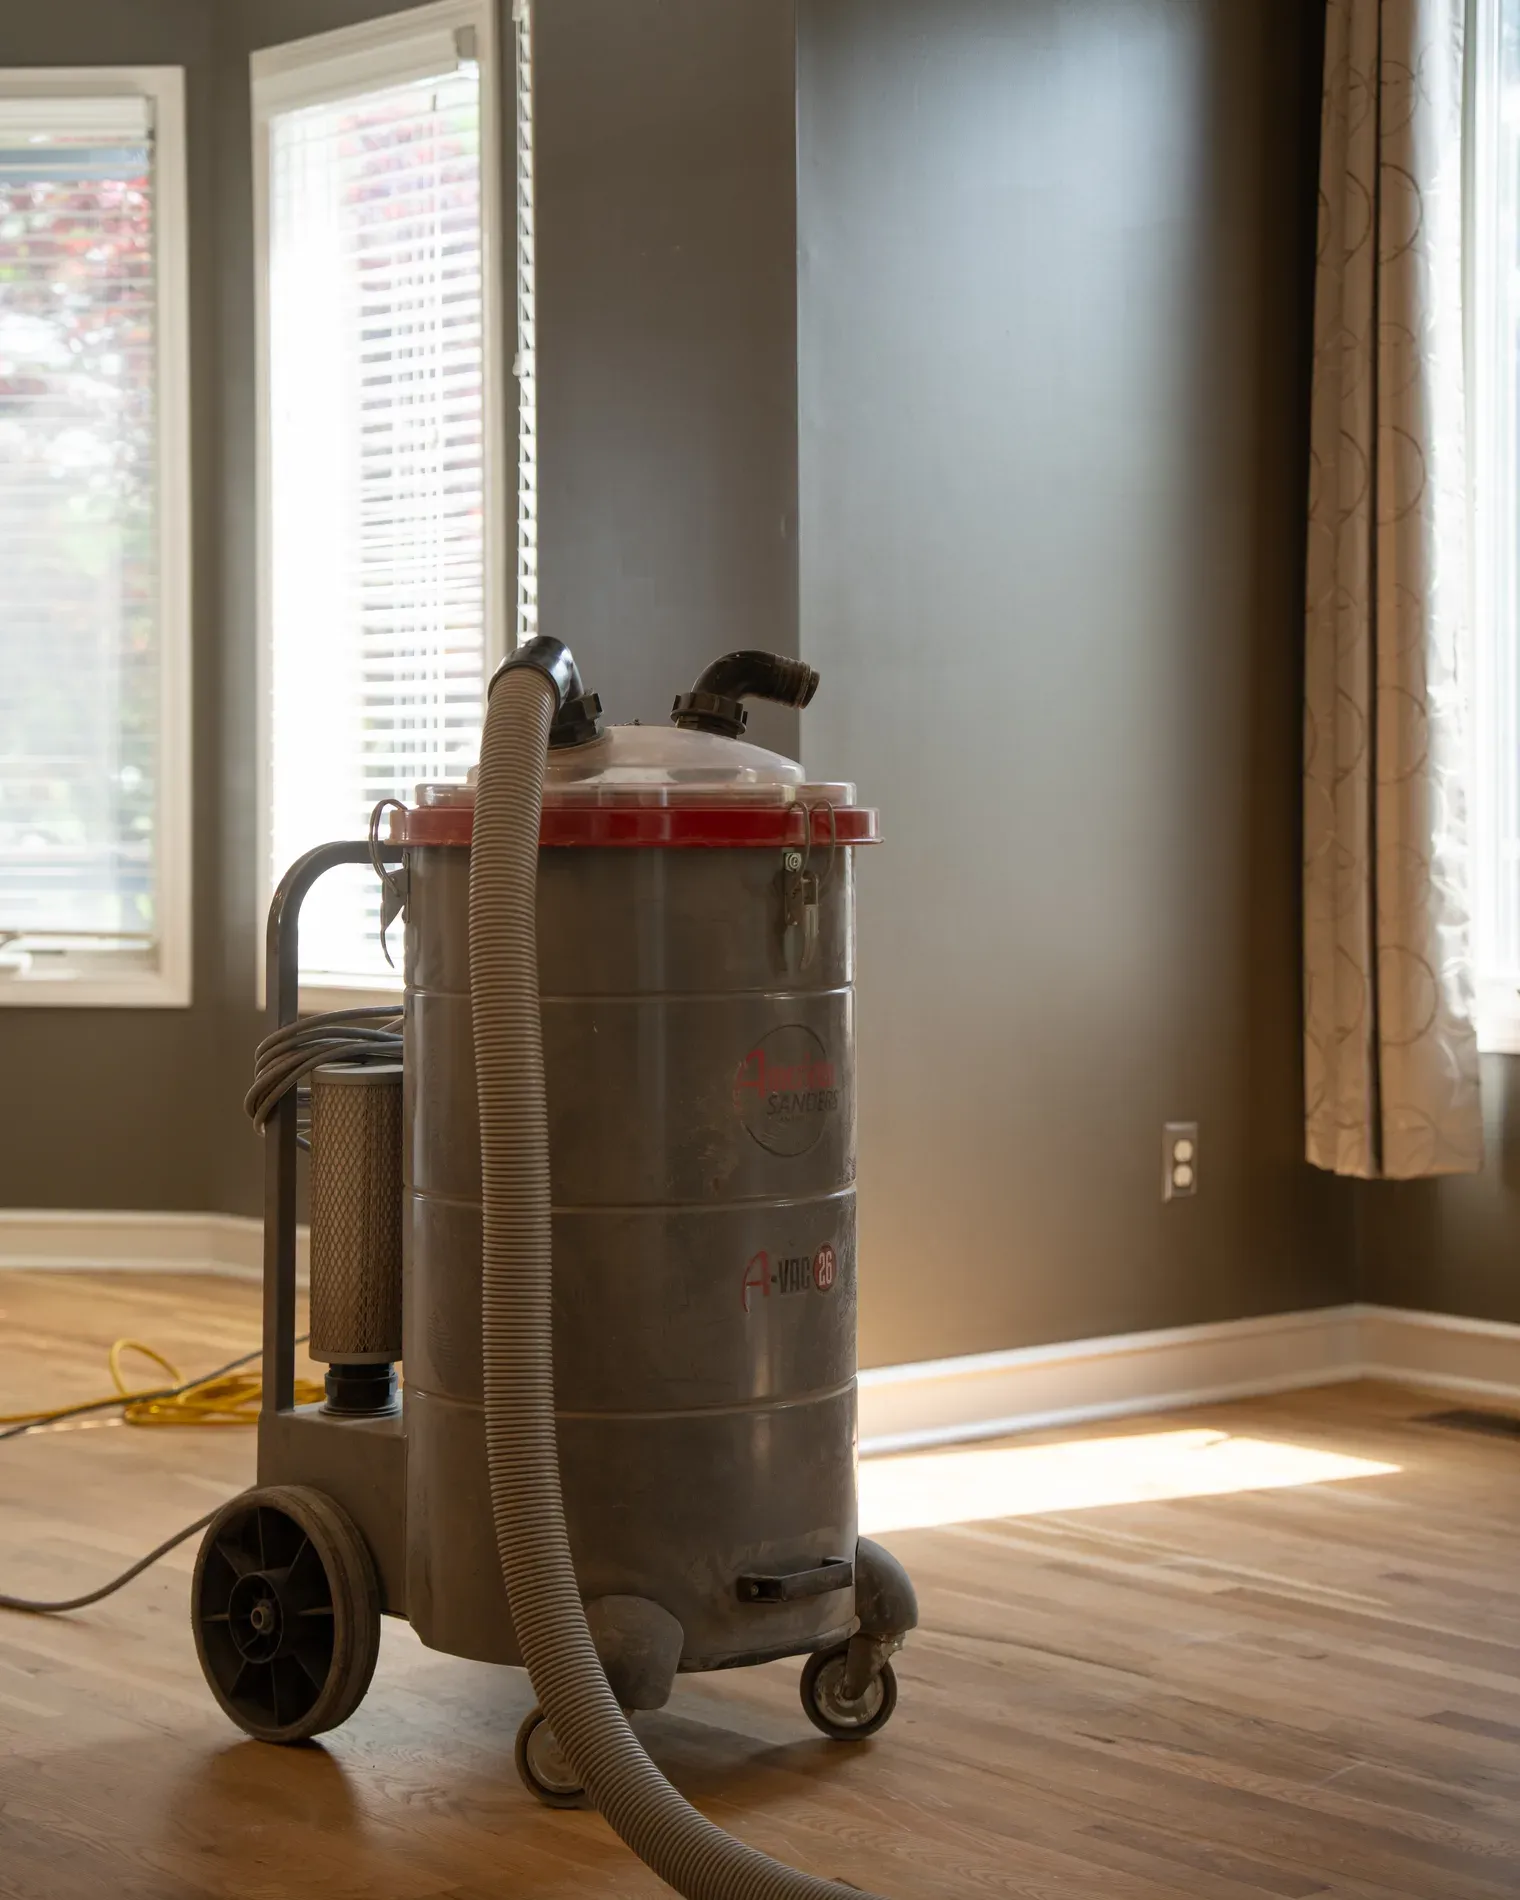
Rental sanders collect some dust, but a DIY job usually coats the house in a fine layer of wood dust that ends up in the vents, the closets and the rooms down the hall. Our dustless system exists because that dust is one of the biggest complaints people have about refinishing.
Time is the other cost. What a crew does in a few days with professional machines often takes a homeowner several weekends, with the rooms out of use the whole time. Once you add machine rentals, sandpaper, edger discs, stain, finish, applicators and the chance of paying a pro to fix it afterward, the savings are often smaller than they first look.
Floor Jobs a Homeowner Can Take On
Not everything needs a crew. These are reasonable for a careful homeowner:
- Proper cleaning. A pH-neutral cleaner made for finished wood and a microfiber mop do more for a floor than most people expect. Cleaning hardwood floors without wrecking the finish covers the routine.
- Protecting the finish. Felt pads under furniture, mats at exterior doors and trimmed pet nails prevent most of the wear that sends floors into a refinish early.
- Small touch-ups. A stain marker or touch-up kit can hide a light scratch that has not gone through the color.
- A small, simple recoat on a floor with intact finish and no wax or polish residue, if you are comfortable testing adhesion first. If there is any doubt about what is on the floor, have it checked, because a recoat over the wrong surface peels.
What we would not recommend as a first project is a full sand and refinish of the main living areas, an engineered floor, a thin old floor, or anything you plan to stain dark.
Where a Pro Earns the Money
The value of hiring someone is not just the machines. It is knowing how much wood a floor has left, reading the grain, handling the edges so the perimeter matches the rest of the room, getting stain even across a whole floor, and laying finish without laps or dust. It is also the assessment before any sanding starts: whether the floor needs a full refinish at all, or just a recoat. Screen and recoat explains that option, and how to choose a refinishing company covers what to ask whoever you hire.
Get a Straight Answer First
Even if you are leaning toward doing it yourself, it costs nothing to find out what your floor actually needs. We work across the metro, including Shawnee, Lenexa, Liberty and Platte Woods. See our hardwood floor refinishing and recoating pages, then get a free estimate. We will tell you honestly whether the job is one you could take on.
Get a Free Estimate
Have a floor you want looked at? We give honest, no-pressure estimates across the Kansas City metro.